Yes! A polymer clay bake off.
I usually write my blog in Swedish but this is a universal issue.
We all need to do a bake off.
Why? To learn about baking and the importance of proper baking of your polymer clay items. So we all can bake our creations like professionals.
Some may say ”I have been baking clay for xx amount of years and with no problems”
Well are you sure? Do customers tell you if an item breaks? What about friends and family? Do your creations lay in a box or stand on a shelf?
I can tell you that many do not tell you that what you made actually broke. Most people do not want to complain or make you sad.
And if the things you make are not handled that much, there still might be an issue with your baking without you knowing about it.
I was a clayer for over 20 years before I understood about proper baking and I made lots of things that I sold and gave away during those years. Never getting any complaints about things breaking but I do know now, that some of them did break (found out about a few years after it happened).
So here is the bake off challenge to you.
Preparation.
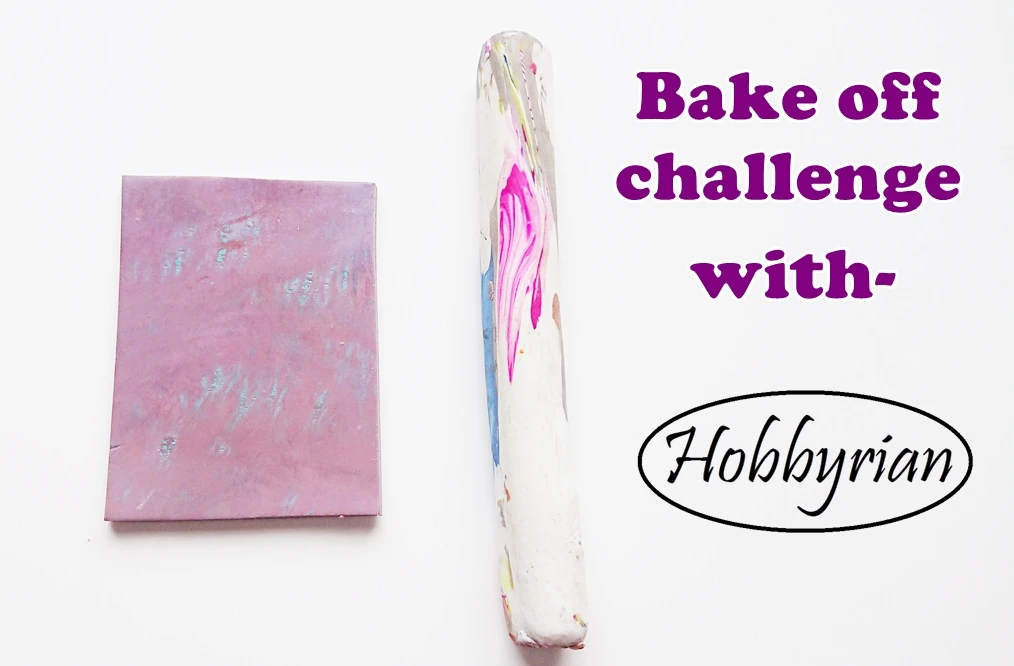
First of all make at least 6 squares on the thickest setting of your pasta machine, make them from scrap clay if you have but make sure that you use your regular brand of clay (note that SculpeyIII, Super Sculpey, Sculpey original are brands that break easily after even proper baking) .
Make your squares about 5×3 cm or 2×1 inch in size, it is not that important but you don´t want them to be so small that you can´t grab them for bending after baking.
Second, make at least 6 ”logs” about 1 cm thick but not much thicker, make them from scrap clay if you have but make sure that you use your regular brand of clay (note that SculpeyIII, Super Sculpey, Sculpey original are brands that break easily after even proper baking).
make them about 8 cm long or 2,5 inch.
Please condition your clay as little as you can! It should only be conditioned until workable not more.
If you are using a Fimo clay it is a good idea to use a white clay and to bake it at both 110C/230F and 130C/266F (look at the back of the package, 130C/266F is ok to bake it at).
Making more squares and logs are great because the more test bakes and the more variables you try the better you learn to understand baking!
Lets bake!
Of course you need to use and oven thermometer! Check your temperature every 10-15 minutes during baking.
Also write on the squares and logs for how long they are baked, and at what temperature so you don´t mix them up.
Bake at least 1 square and 1 log for 10 minutes at the recommended temperature
Bake at least 1 square and 1 log for 30 minutes at the recommended temperature
Bake at least 1 square and 1 log for 60 minutes at the recommended temperature
Bake at least 1 square and 1 log for 10 minutes at 10-20C/20-30F below recommended temperature
Bake at least 1 square and 1 log for 30 minutes at 10-20C/20-30F below recommended temperature
Bake at least 1 square and 1 log for 60 minutes at 10-20C/20-30F below recommended temperature
Bake as you usually do, tented/covered or what ever is your method of choice for baking and also use your regular oven for baking clay.
If you use more than one oven, repeat this for all your ovens.
If you are using Fimo make 2 ”recommended temperature” tests at 110C/230F and 130C/266F and preferably use white clay. This so you can see how the white changes color during baking at different temperatures.
The ”below recommended temperature” should be below the lowest recommended temperature.
Time to test!
It is time to test the baking result.
All you do is bend and twist you logs and squares.
Try to fold the squares in half and see what happens.
Take notes and learn.
Which of your samples will snap and which ones will bend?
Also note which is more durable, the stiff result or the bendy result?
Take notes and comment below about what you learned, are you surprised? Did you learn anything about your clay and your oven that you did not know?
Tell me and others, how did your bake off go? Let´s learn together!
Also feel free to extend your baking tests, you could do multiple brands of clay or place the squares and logs at different positions in your oven.
If you compare conditioned clay to unconditioned then make sure to bake them at the same time in the oven, side by side so the comparison is accurate.
I would love to hear how you made your test and what you came to learn from it, just comment below.
Karolina
Links for you to learn ever more from AFTER your bake off test.
https://thebluebottletree.com/baking-polymer-clay/
https://www.youtube.com/watch?v=Vp8Mi5jnd9U&t
https://www.youtube.com/watch?v=jvk0GIxmnH0&t